

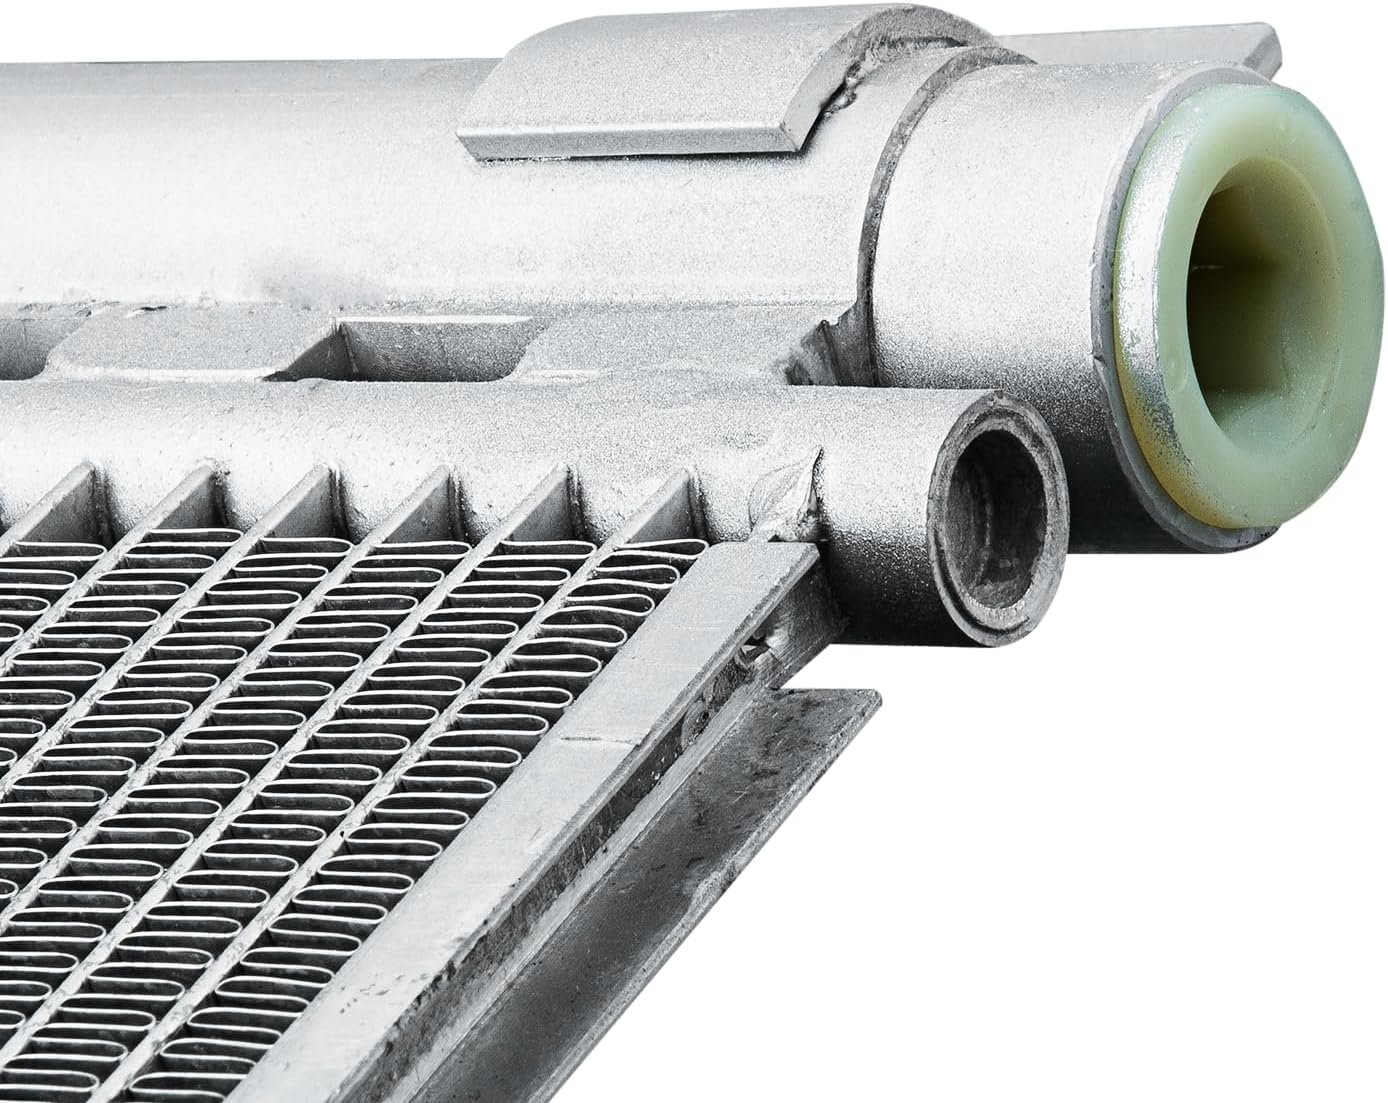
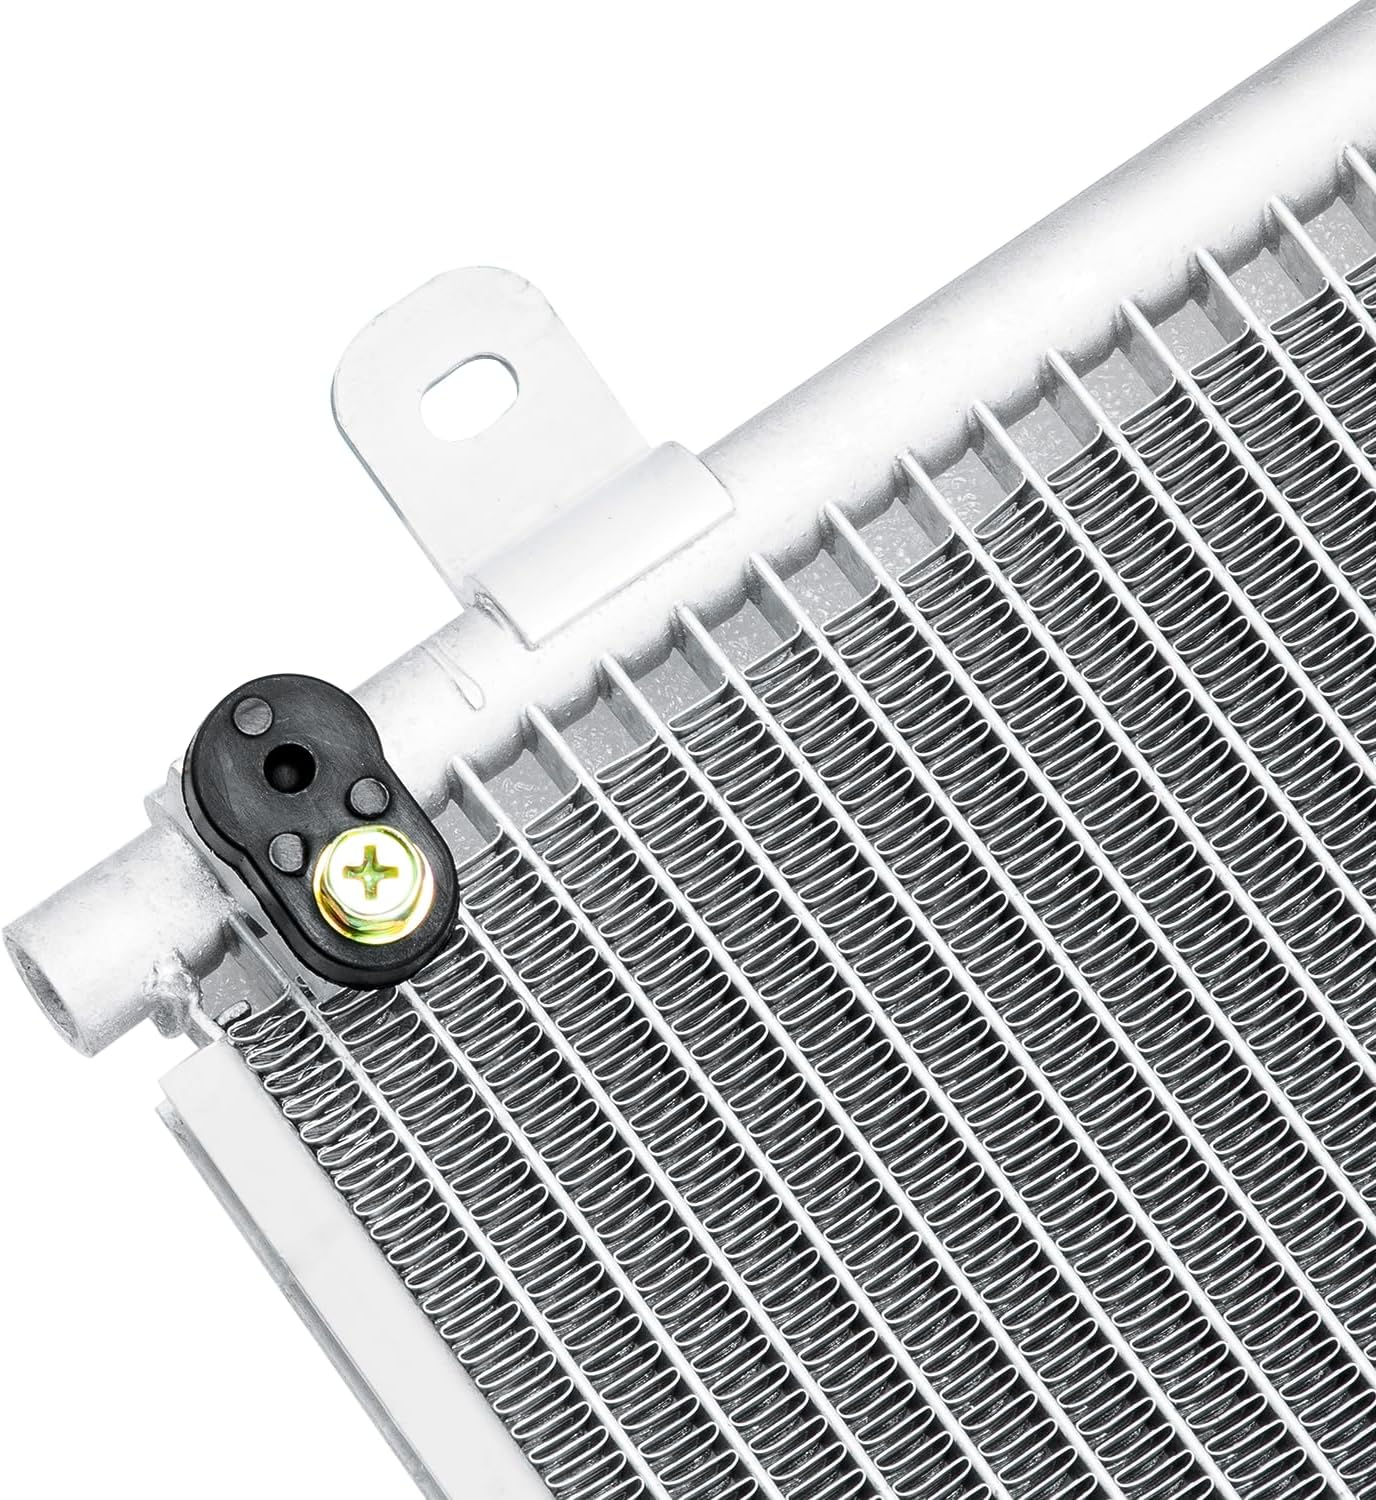
AC Condenser for 2016-2021 Honda Civic DX LX EX Sport Coupe Sedan 2.0L L4, AC Condenser Replace for Honda Civic 2016 2017 2018 2019 2020 2021, OEM 730007
Product details
| Management number | 229577081 | Release Date | 2026/05/31 | List Price | $31.60 | Model Number | 229577081 | ||
|---|---|---|---|---|---|---|---|---|---|
| Category | |||||||||
Specification:Part Type: AC CondenserPackage Content: 1x AC CondenserCore Size: 22.75'' x 17.75'' x 0.5''Vehicle Fitment: Specifically designed for 2016-2021 Honda Civic models:2016-2020 Civic DX2019 Civic EX Coupe2017-2019, 2021 Civic EX Sedan2017-2020 Civic LX Coupe2017-2021 Civic LX Sedan2016-2018 Civic LX-P2019-2020 Civic Sport Coupe2019-2021 Civic Sport Sedan2016 Civic (submodels: EX, LX)OE/OEM Part Number: O3030164,730007Replaces OEM Numbers: 30007, CN30007PFC, 80100TBAA02, 80100TBAA01, HO3030164Fitment NotesVerify your vehicle’s year, model, and trim level against the listed fitment to ensure proper compatibility. This condenser is designed for Honda Civic models with the 2.0L L4 engine in coupe and sedan configurations within the specified years and trims. The core size dimensions (22.75'' x 17.75'' x 0.5'') are provided for reference to match existing system requirements. How to Replace an A/C Condenser Step 1: Safely Recover the Refrigerant Use a certified refrigerant recovery machine to discharge and recycle the AC refrigerant from the system. This protects the environment and ensures compliance with safety regulations. Step 2: Remove Obstructing Components Take out any parts blocking access to the condenser, such as the front bumper cover, radiator shroud, or engine splash guard. Use appropriate tools (screwdrivers, socket wrenches) and set aside fasteners in a labeled tray to avoid loss. Step 3: Disconnect the AC Lines Locate the inlet and outlet lines connected to the condenser. Use a line wrench to loosen the fittings and carefully remove the pipes. Have a rag handy to catch any residual refrigerant oil. Pro Tip: Note the position of each line for easier reinstallation. Step 4: Remove the Old Condenser Unbolt the condenser from its mounting brackets (typically located behind the radiator). Gently lift it out, taking care not to bend the delicate fins. If the condenser is stuck, wiggle it slightly while pulling straight back. Step 5: Install the New Condenser Position the new condenser into the mounting brackets and secure it with the original bolts. Ensure it’s aligned properly to avoid stress on the AC lines. Step 6: Reconnect the AC Lines & Replace Seals Attach the inlet and outlet lines to the new condenser. Replace all O-rings with fresh, manufacturer-approved seals (apply a drop of refrigerant oil to each O-ring to prevent damage during installation). Tighten the fittings firmly but do not over-tighten to avoid stripping threads. Step 7: Recharge the System Have the AC system evacuated to remove moisture, then refill it with the correct type and amount of refrigerant as specified in your vehicle’s manual. Test the system to ensure proper cooling and check for leaks.
- Precise Vehicle Compatibility: Designed for 2016-2021 Honda Civic models including DX, LX, EX, Sport trims in coupe and sedan body styles (2.0L L4 engine)
- Direct OEM Replacement: OE/OEM Part Number: O3030164,730007, Replaces part numbers 30007, CN30007PFC, 80100TBAA02, 80100TBAA01, HO3030164 for seamless fit and function
- Complete Package: Includes 1 AC condenser ready for installation to restore your vehicle’s air conditioning system
- Reliable Performance: Engineered to meet or exceed factory specifications for optimal cooling efficiency
- Easy Installation: Designed for straightforward replacement, compatible with specified Civic models without modifications
| ASIN | B0F47XDY6S |
|---|---|
| Brand | Pundimo |
| Model | AC Condenser |
| Exterior | Polished |
| Item Weight | 5 pounds |
| Manufacturer | Pundimo |
| OEM Part Number | 30007, CN30007PFC, 80100TBAA02, 80100TBAA01, HO3030164 |
| Item model number | PUN5102 |
| Manufacturer Part Number | PUN5102 |



Bestseller ranking
Condensers


Customers who viewed this product also viewed
Thread Forming



Correction of product information
If you notice any omissions or errors in the product information on this page, please use the correction request form below.
Correction Request Form